|
IHstuff 003
IHstuff 003
Date: 03/14/2003
Views: 808
|
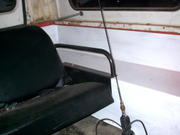
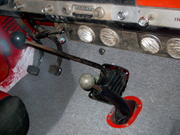
Hurst shift boot on the left, home made x-fercase shift boot. Sealed all body seams, cracks and holes with various products, coa
Hurst shift boot on the left, home made x-fercase shift boot. Sealed all body seams, cracks and holes with various products, coated floor with snow roof, applied underpad, cut some new carpet to fit (will be replaced with better stuff later. HUGE differen
Date: 03/14/2003
Views: 675
|
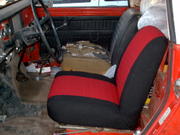
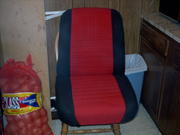
Notice the difference between it and the other seat? I thought so...:)
Notice the difference between it and the other seat? I thought so...:)
Date: 03/02/2003
Views: 540
|
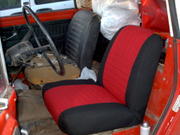
Looks pretty good in there...
Looks pretty good in there...
Date: 03/02/2003
Views: 588
|
|
The "IH" looks pretty sharp, you can still see my marking lines from measuring it out, they will wash away.
The "IH" looks pretty sharp, you can still see my marking lines from measuring it out, they will wash away.
Date: 03/01/2003
Views: 595
|
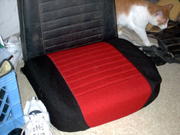
Seat is finished! though one of the wires the hog rings clips to broke :( I will have to take it all apart to fix it, or just cr
Seat is finished! though one of the wires the hog rings clips to broke :( I will have to take it all apart to fix it, or just cross my fingers.
Date: 03/01/2003
Views: 642
|
New center section of seat back, notice the "IH"?
New center section of seat back, notice the "IH"?
Date: 02/28/2003
Views: 693
|
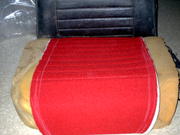
Finished bottom seat cover. I cut the new pieces a little less than a 1/2" larger than the original pieces. I still need to
Finished bottom seat cover. I cut the new pieces a little less than a 1/2" larger than the original pieces. I still need to repair the seat foam before attaching it with hog rings. The rear seat will eventually match the fronts. The seat back will ha
Date: 02/25/2003
Views: 628
|
|
Side bolster covers stitched to center. The sides are black tweed.
Side bolster covers stitched to center. The sides are black tweed.
Date: 02/25/2003
Views: 646
|
Bottom of center section, I tried to trim the foam prior to stitching the next piece on, don't do it that way, it is harder. the
Bottom of center section, I tried to trim the foam prior to stitching the next piece on, don't do it that way, it is harder. the green marks are where I measured out to stitch it.
Date: 02/25/2003
Views: 641
|
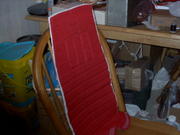
This is the center section after pleating, the white marks are from a dress maker's pencil, it washes off.
This is the center section after pleating, the white marks are from a dress maker's pencil, it washes off.
Date: 02/25/2003
Views: 635
|
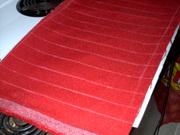
Cardinal red tweed cut to a little larger than needed, then glued to 1/4" pleating foam, marked for stitching.
Yep, I am d
Cardinal red tweed cut to a little larger than needed, then glued to 1/4" pleating foam, marked for stitching.
Yep, I am doing the seats right this time!
Date: 02/25/2003
Views: 527
|
|
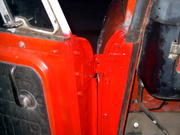
I also painted the door frame area, eventually all OE red will be Rustoleum.
I also painted the door frame area, eventually all OE red will be Rustoleum.
Date: 02/14/2003
Views: 704
|
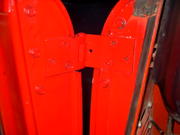
Ben cleaned and acid dipped these hinges, I painted them Rustoleum Red.
Ben cleaned and acid dipped these hinges, I painted them Rustoleum Red.
Date: 02/14/2003
Views: 657
|
The old hinges, I had to drill off the screw heads, then replace the mount plates in the door frame.
The old hinges, I had to drill off the screw heads, then replace the mount plates in the door frame.
Date: 02/14/2003
Views: 591
|
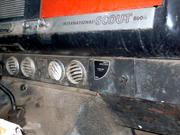
Dealer installed A/C unit
Dealer installed A/C unit
Date: 01/25/2005
Views: 744
|